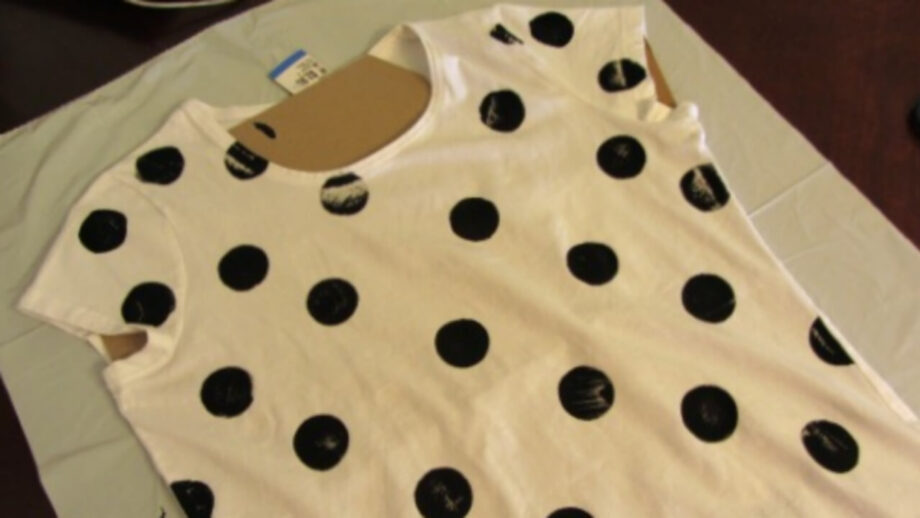
Add gold foil circles to a simple t-shirt to jazz it up (or the color of your choice). This simple DIY polka dot shirt project gives your outfit some glitz! You should be able to do this even if you have never created anything before. It necessitates the use of an iron and a cutting machine (or punch). Recently, I’ve been seeing a lot of gold foil shirts on Pinterest, and I adore them. I had to recreate this one in particular since it had both gold and polka dots. The garment of my dreams, if you will.
Recently, I’ve been seeing a lot of gold foil shirts on Pinterest, and I adore them. I had to recreate this one in particular since it had both gold and polka dots. The garment of my dreams, if you will.
Fortunately for me, I had been eager to use my new Silhouette Portrait, and this was exactly the fashion craft I was searching for. But hold on! If you don’t own a cutting device like a Silhouette, don’t dismiss this post just yet. You could easily complete this DIY using a circle cutter or big hole punch from the craft store. Additionally, the foil need not be gold. Any iron-on material that adheres to the fabric can be used for this project. Naturally, it must be compatible with the cutter and able to pass through it if you are using a cutting machine. Before beginning, read the directions on the iron-on paper or vinyl. The shirt should be prepared in accordance with the instructions on the package, which is probably washing and drying (avoid using fabric softener or dryer sheets).
The next step can be completed in one of two ways. Before starting, you can plan out your design. At this point, a fabric marker really comes in handy since you can mark the placement with it and then iron the dots on top. A lot of circles can also be taken out on the fly. Once they’ve been cut, you can arrange them on the shirt. I’ll let you decide that. In any case, you’ll cut your circles with a hole punch, circle cutter, or cutting machine. Place the circles on the front of the shirt after they have all been cut. Get your garment on the ironing board before setting up (or around it). Follow the temperature and time recommendations on the packaging while ironing the circles on the garment. To avoid melting the tops of the dots, I had to spread a towel over the top.
Keep reading IWMBuzz.com


