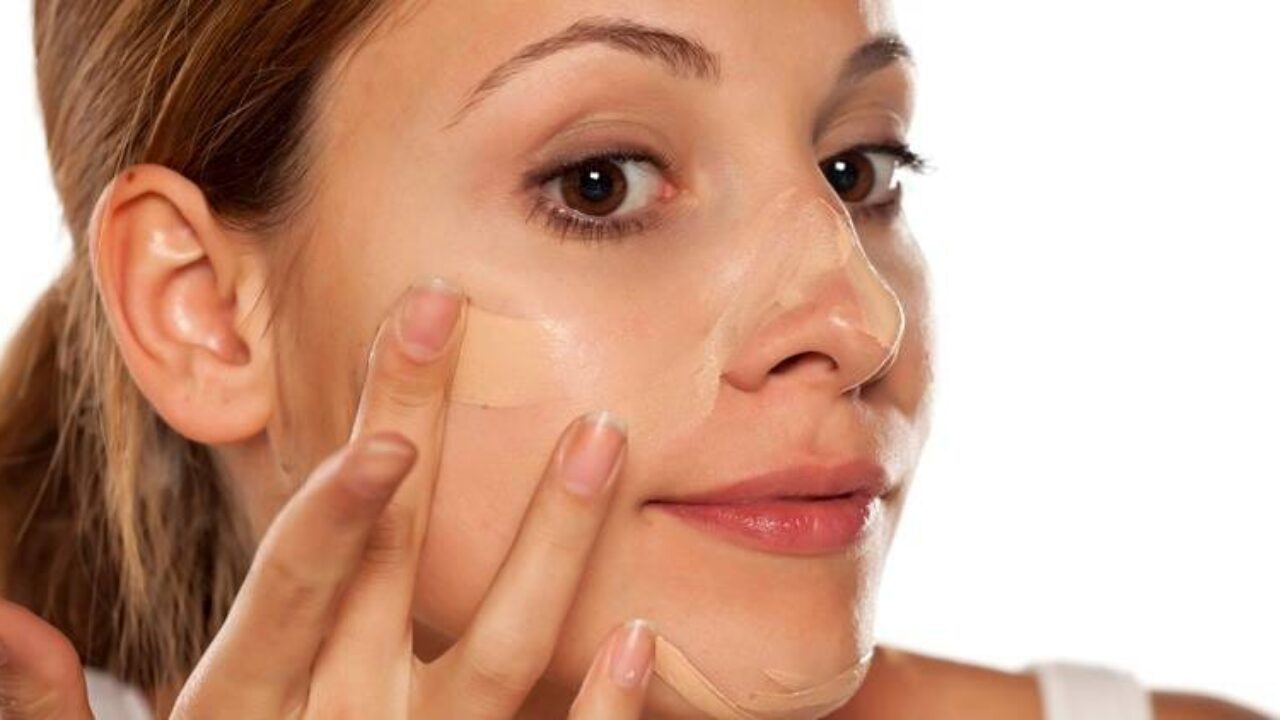
The frustrating thing about foundation is that it can convert your face into a flawlessly even, brilliant, smooth-looking pearl when applied correctly. When applied incorrectly, though, it has the potential to draw attention to fine lines you didn’t realize you had, make your skin look dry and oily, and leave you with a chalky mask. Fun!
PREPARE YOUR SKIN IN THE FIRST STEP
This is an important stage that should not be overlooked. Do not, I repeat, do not, Makeup has a propensity to sink into the creases and crevices of dry skin, so if your face isn’t properly washed and moisturized before applying foundation, you’re out of luck. After cleaning your face with a gentle face wash, apply a lightweight moisturizer to your face (along with any other morning skincare products), and wait 15 minutes for everything to sink in before applying makeup.
STEP 2: SELECT A FORMULA
Most foundations are available in three levels of coverage: sheer, medium, and full. Choose a product that reads “hydrating” or “lightweight” if you like your freckles. Look for a medium-coverage solution with a “semi-matte” or “satin” finish if you want to balance out your skin tone a little. If you have pimples, redness, or hyperpigmentation, choose the formula with the most coverage, which is commonly labeled “full coverage” or “matte.”
STEP 3: APPLY AND BLEND
It’s up to you how you apply your foundation, but most beauty professionals believe that Beautyblenders (or any decent cosmetic sponge) is the way to go if you want the absolute best, Photoshop-level result. Why? Because brush bristles leave small streaks and lines on your face, your fingers/hands can’t buff, blend, or spread foundation in a natural manner.
So, using your finger, dab a few drops of foundation over the key parts of your face (forehead, cheeks, and chin) once you’ve acquired your sponge (make sure it’s damp with water first, or it won’t work as well). Continue tapping under your chin and jaw to integrate the foundation’s borders flawlessly.
STEP 4: SET IT
To make your foundation last, you don’t need to powder your entire face. Gently swirl a loose setting powder over just the areas that tend to get especially glossy and oily, like your T-zone, with a big fluffy brush. Don’t worry if you use too much powder and end up looking chalky; simply spritz your skin with a face mist or fixing spray to melt the powder into your skin for a natural effect.
Source- cosmopolitan

