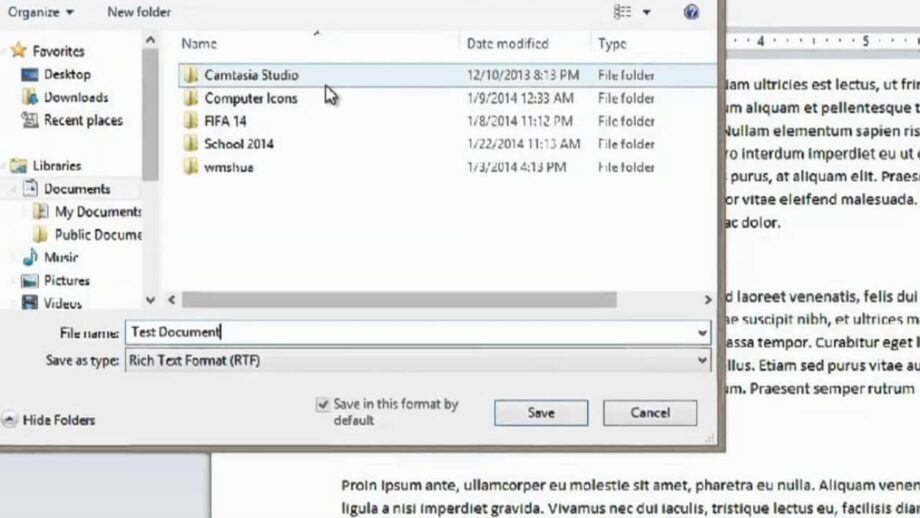
Working with papers, photos, videos, and any other kind of files on a computer requires saving files frequently. By saving your work, you can come back and finish it later, share your work with others, and safeguard it against mistakes and software malfunctions. For information on how to save files effectively and work as efficiently as possible, see the Step below.
The autosave feature of many apps will automatically save your file after a predetermined amount of time. Although it could come in handy, this shouldn’t frequently take the place of actively saving.
Use the “Save as” tool to make a copy of a file with a new file name if you need to make changes to one but don’t want to overwrite the original.
Give the files you save names that are helpful. You will be prompted to name the file when you first save a new one.
When you save your file, double-check the format. Many programs allow you to alter the file’s format when you save a file for the first time or generate a new copy using the “Save as” command. Typically, you may do this by selecting an option from the dropdown menu that is located beneath the file name box.
Put your save directories in order. Your saved files will by default be placed in a Documents folder that is created by the majority of operating systems. While having a basic idea of where your files are located might be beneficial, being able to stay afloat in a sea of files by taking the effort to establish a structure of folders.
To sort by file type, project, date, or any other criterion you desire, use folders.
Take note of the keyboard shortcuts. Learning the keyboard shortcuts for saving files can save you a lot of time, especially if you like to save a lot of files. Most programs allow you to save your file by pressing Ctrl+S.
There are shortcuts for the “Save as” feature in several apps as well. These shortcuts will differ between programs. F12, for instance, will launch Word’s “Save As” dialog box.


